
A few weeks ago, we announced the release of OpenAPI specifications for APS, making it easier than ever for developers to explore and integrate with our APIs. Today, we’re excited to follow up with a practical way to take advantage of these specs, specifically, using them with Postman.
If you’ve worked with our APIs before, you probably remember the manual effort it took to build Postman collections request by request. While that approach worked, it was time-consuming and error-prone, especially as our APIs evolved.
That’s no longer necessary.
With our OpenAPI specs now publicly available, you can import them directly into Postman and instantly generate a full collection of (almost) ready-to-use requests. Whether you’re testing endpoints, building workflows, or exploring available operations, Postman becomes your one-click gateway to our platform’s capabilities.
How?
Assuming you have Postman installed:
- Open Postman, go to the Collections section, and click the Import button at the top
- Provide the spec file you want to import using one of the following options:
- Copy & paste the URL of the spec file (for example, https://raw.githubusercontent.com/autodesk-platform-services/aps-sdk-openapi/refs/heads/main/oss/oss.yaml)
- Copy & paste the YAML content of the spec file
- (Advanced) link Postman to your GitHub account, and select the spec file from one of your repos
- In the Choose how to import your Specification dialog, select Postman Collection
- Before creating the Postman collection, we recommend that you go to View Import Settings, and set the following settings:
- Parameter generation: Schema
- Folder organization: Tags
- Enable optional parameters: false
- Always inherit authentication: true
- Click the Import button, and wait for the import to complete
Authorization
One thing the OpenAPI import doesn't setup automatically (at least not at the time of writing this blog post) is the authentication/authorization. There are many different ways to setup authorization for Postman requests, and the one I personally find the most universal is by configuring the authorization for each Postman collection, using either 2-legged or 3-legged OAuth depending on how I'm planning to use the requests in the collection.
Environment
It's a good practice to store sensitive data (e.g., APS client ID and client secret) in a Postman environment. That way the data is not exposed during the standard use of the Postman UI, and also, you can easily reuse the same requests with different environments (e.g., with different APS applications). To specify our APS client ID and secret in a new environment:
- Open Postman, go to the Environments section, and click the Create Environment link
- Give your new environment a name (that way you can identify it easily when you have multiple environments configured)
- Create a new environment variable, APS_CLIENT_ID, set its Type to secret, and copy & paste your client ID into the Initial value
- Similarly, create a new environment variable, APS_CLIENT_SECRET, set its Type to secret, and copy & paste your client secret into the Initial value
- Save your environment using the Save button in the top-right corner
- Optionally, activate your new environment by selecting it from the dropdown in the top-right corner
2-Legged Auth
In order to add the 2-legged auth (officially known as the "client credentials flow" in the OAuth terminology) to a Postman collection:
- Open Postman, go to the Collections section, and select a collection
- In the collection detail page, switch to the Authorization tab
- Set Auth Type to OAuth 2.0, and make sure that the Add auth data to option is set to Request Headers
- In the Configure New Token section, give the token a name (for example,
APS 2LO), and set the following inputs:
- Grant Type: Client Credentials
- Access Token URL:
{{baseUrl}}/authentication/v2/token - Client ID:
{{APS_CLIENT_ID}} - Client Secret:
{{APS_CLIENT_SECRET}} - Scope:
bucket:read data:read - Client Authentication: Send as Basic Auth Header
- Click the Generate New Access Token button at the very bottom
- In the Manage Access Tokens dialog, click the Use Token button
- Back in the collection detail page, make sure that the Auto-refresh Token option is enabled
- Save your collection
Note: if you're wondering about the
{{baseUrl}}piece, this is a variable defined for each collection imported from our OpenAPI specs, and its default value ishttps://developer.api.autodesk.com.
3-Legged Auth
In order to add the 3-legged auth (officially known as the "authorization code flow" in the OAuth terminology) to a Postman collection:
- Open Postman, go to the Collections section, and select a collection
- In the collection detail page, switch to the Authorization tab
- Set Auth Type to OAuth 2.0, and make sure that the Add auth data to option is set to Request Headers
- In the Configure New Token section, give the token a name (for example,
APS 3LO), and set the following inputs:
- Grant Type: Authorization Code
- Check the Authorize using browser checkbox, and make note of the URL provided in the Callback URL field
- Auth URL:
{{baseUrl}}/authentication/v2/authorize - Access Token URL:
{{baseUrl}}/authentication/v2/token - Client ID:
{{APS_CLIENT_ID}} - Client Secret:
{{APS_CLIENT_SECRET}} - Scope:
data:read - Client Authentication: Send as Basic Auth Header
- Go to your APS application in https://aps.autodesk.com/myapps, and make sure you add the callback URL generated by Postman
- Back in Postman, click the Generate New Access Token button at the very bottom
- In the Manage Access Tokens dialog, click the Use Token button
- Back in the collection detail page, make sure that the Auto-refresh Token option is enabled
- Save your collection
Note: if you're wondering about the
{{baseUrl}}piece, this is a variable defined for each collection imported from our OpenAPI specs, and its default value ishttps://developer.api.autodesk.com.
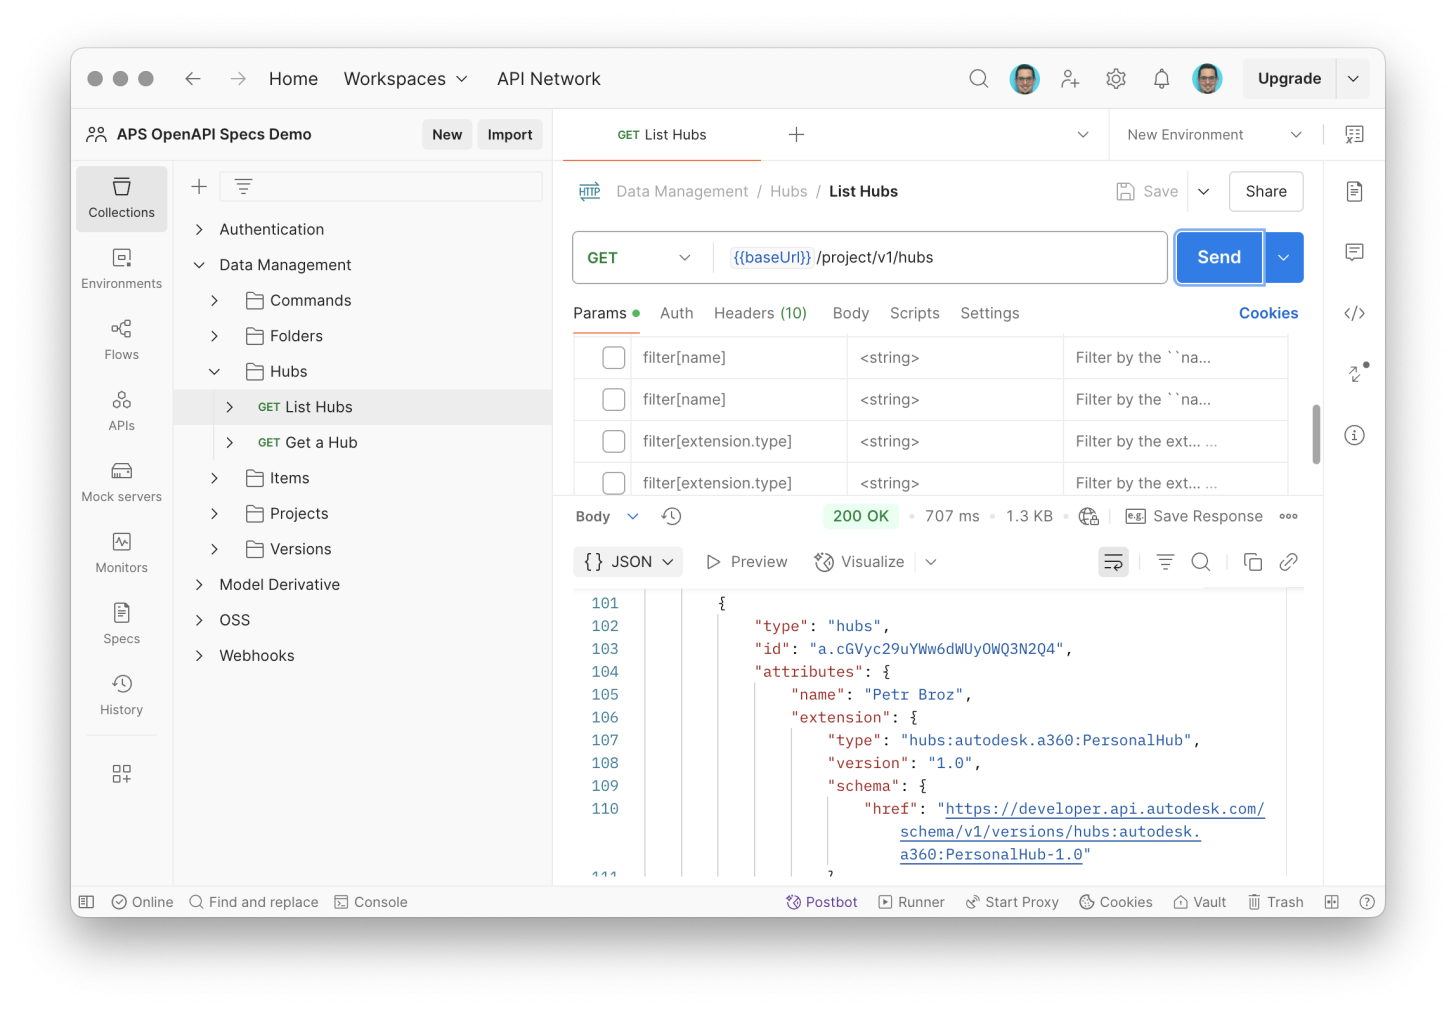
And that's it! Now you have collections of Postman requests ready to use.