Part I - TextGeometry
This will be the first of a series of three blog posts covering methods for adding labels to your models.
In this part, we'll be focusing more on how to add text geometry as labels into Forge Viewer.
Introduction
Maybe you are trying to...
- Label all the desks and chairs in a room with floating labels?
- popup a live-feed video, next to the security camera geometry?
- Add measurements to a Manufactured part, with 3D markup annotations?
In this Three part blog series, we are going to cover all things “labels”, including past blogs and techniques.
Let's start by summarizing three popular options:
- HTML elements on top of the model (SVG, DIV)
- TextGeometry integrated into the scene
- 3D – CSS Transforms
APPROACH #1 - DIV LABELS
The first approach, HTML elements, has been posted before.
- Augusto’s blog Placing custom markup by dbId uses DIV elements to place labels on pipes and factory equipment.
- Michael’s blog used the same thing but added millions of POI’s.
- Meanwhile, Philippe’s post uses SVG elements, so demonstrates SVG animations.
The HTML elements technique changes the Top/Left values of a DIV/SVG element. The HTML canvas is rendered above the Forge-Viewer webGL layer. We move the labels (DIV) x,y position every frame, based on a calculation (re-projecting a 3D point from three.js to the 2D viewport).
That is a slow technique, but very convenient – It’s slow because the DIV Labels layer (HTML rendered by Skia) is drawn over the top of the 3D WebGL layer (rendered by three.js). This causes over-draw.
We can improve the DIV Label speed, a little, by using ‘fixed’ CSS positioning, to get GPU acceleration, but unfortunately, the over-draw inefficiencies, cannot be avoided.
There’s more. Let's summarize the pros and cons:
Pros:
- The convenience of HTML onClick, MouseOver makes “Hit-testing” easy
- The convenience of CSS styling makes changing colors, borders and shadows, easy
- DIV can embed complex content, like video’s, gif’s, multi-line styled text
- Highest quality anti-aliased fonts, zero tessellation
Cons:
- Too many DIV elements, slow rendering down
- Labels are stuck ‘in front’ of everything. There’s no partial occluding a label, ie. behind a chair.
- No angled text – It's flat land. (We address this in Part2 blog post with CSS3D)
- Keeping the 2D HTML scene, aligned with the three.js scene is hard. There are issues with zooming, resizing, and embedding iframe’s that adds effort
Now, let us look at an alternative approach...
APPROACH #2 – TEXT GEOMETRY
What if we create text as three.js geometry? We do this by creating a three.js shape for each font’s character.
What are the Pros?
- Rendering is simpler, both labels and 3D are now handled by three.js
- It’s 3D Text, so it becomes part of the 3D scene
- It rotates in 3D
- it can hide behind chairs, fences, doors, floors, robots... anything
- There are no bad alignment problems or zoom-in problems, like the DIV approach above
- To get better quality fonts, use higher tessellation
- Add complex textures/materials to the text
Cons:
- CSS Styling makes adding colors, borders, shadows & gradients easy – that’s gone
- Those convenient DIV elements onClick & onMouse events don’t exist. You’ll have to recreate that with Ray-hit testing
- Too many characters on the screen can impact render performance. ie. Don’t display a pdf page full of text on the screen.
- no anti-aliasing (TextGeometry is added as an overlay which skips FXAA post-processing)
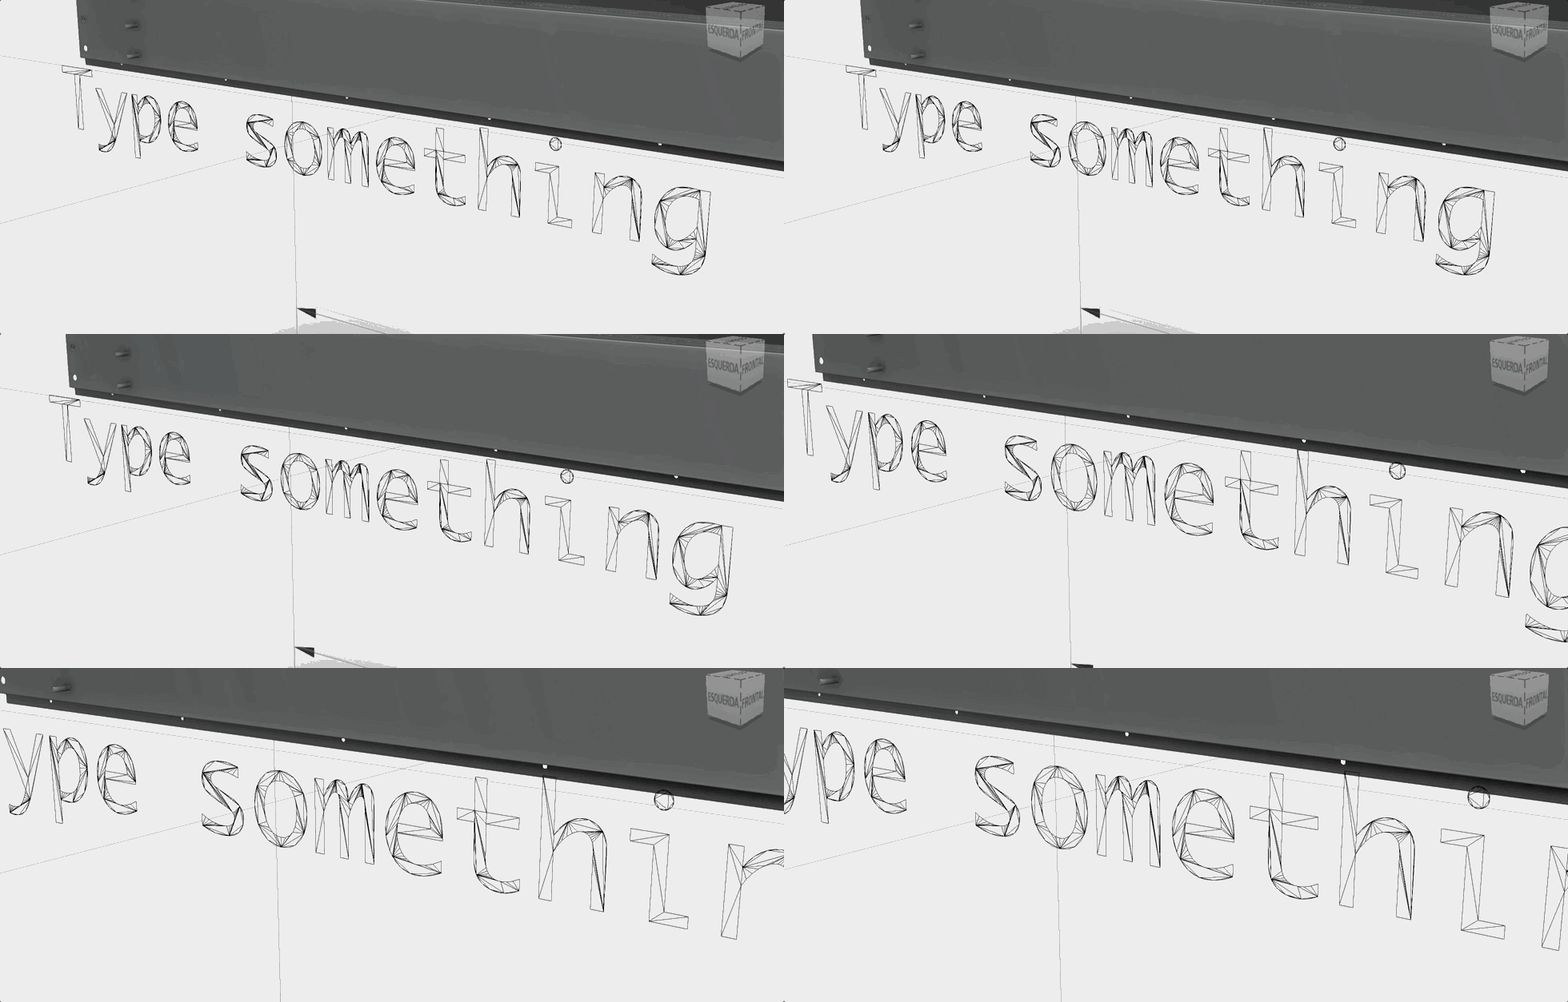
Below we can see the tesselation of the geometry, forming the letters through triangle meshes.

Now let's cover the steps to use this approach.
GETTING STARTED
First up, Forge-Viewer is still using V71. So we can't add our text using the default method (refer here). Thankfully, not a whole lot has changed, to make things work - just a couple of name changes, like THREE.FontLoader()
STEP 1 – Create a Text Geometry
Next, let’s create a TextGeometry mesh, and add it into a scene (Forge Viewer overlay)...
//First we create the TextGeometry
let geom = new THREE.TextGeometry(text, {
  font: "monaco",
  size: size * 25,
  height: 0,
  curveSegments: 3,
});

//Here we compute it's boundingbox
geom.computeBoundingBox();

//Here we define the material for the geometry
var mat = new THREE.MeshBasicMaterial({ color: this.color });

//Here we create the mesh from using the geometry and material
this.mesh = new THREE.Mesh(geom, mat);

//Then, we set its position
this.mesh.position.x = -65;
this.mesh.position.y = -10;
this.mesh.position.z = 5;

//Now we just need to add on a custom scene on viewer
this.viewer.overlays.addScene('custom-scene');
this.viewer.overlays.addMesh(this.mesh, 'custom-scene');
STEP 2 – Choose your Font
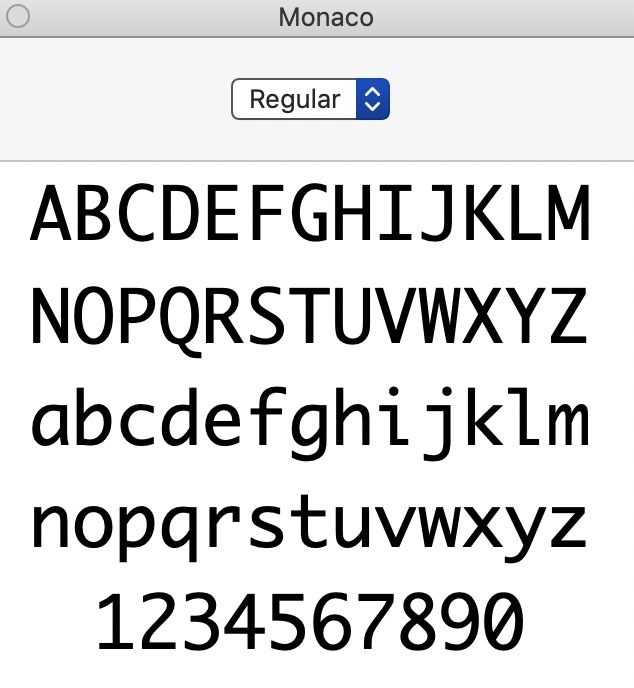
I like the monaco.TTF true-type font, used by Sublime Text Editor, and I want to use this font style inside my three.js scene. You can find a copy from the author here

First, I upload monaco.TTF to this website FaceType.js
This will generate a special ‘js’ file that helps the TextGeometry three.js class. Download this js, and load and reference it in your app.
Something like this...
<script src=" <your-font>.js"></script> STEP 3 – Clean Up
We're almost done, but if you try to load it this way, you might get an error like:
Unhandled Promise Rejection: The font <your-font-name> with normal weight and normal style is missing. If we take a look at our recently generated js font, we can see it verifies both _typeface_js and _typeface_js.loadFace.
That's our third step, we need to ensure _typeface_js object is defined and have faces and loadFace methods referencing to THREE.FontUtils.faces and THREE.FontUtils.loadFace respectively.
That can be done by adding the script below before loading <your-font>.js:
<script>
self._typeface_js = { faces: THREE.FontUtils.faces, loadFace: THREE.FontUtils.loadFace };
</script>
And that's it.
To summarize, here are the steps:
- Add V71 files and <your-font>.js to your app
- Insert TextGeometry to your overlay
- Fix the self._typeface_js reference before loading your-font.js
We'll go further on 3D CSS in the next blog post.
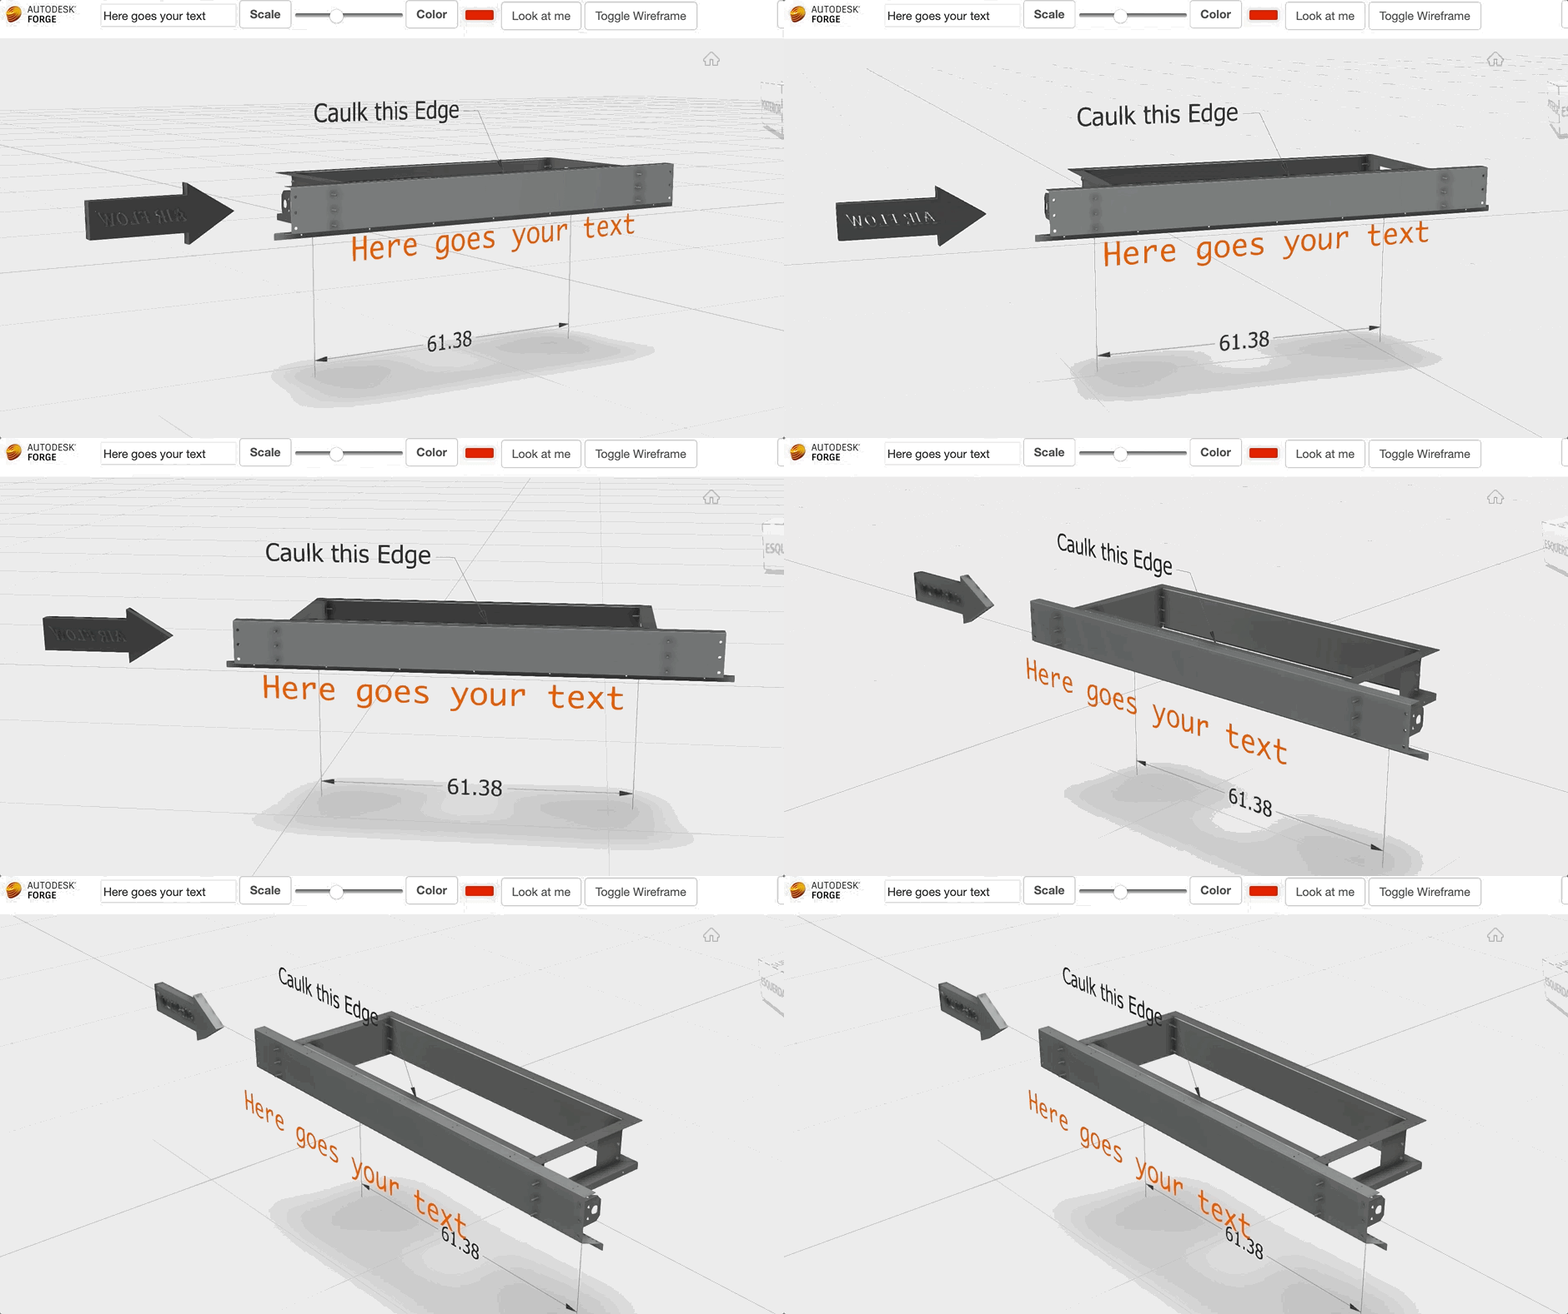
Here’s a live demo:
DEMO: https://joaomartins-callmejohn.github.io/textgeometry-sample/
SOURCE: https://github.com/JoaoMartins-callmeJohn/textgeometry-sample
You can follow me on twitter: twitter.com/JooPaulodeOrne2

