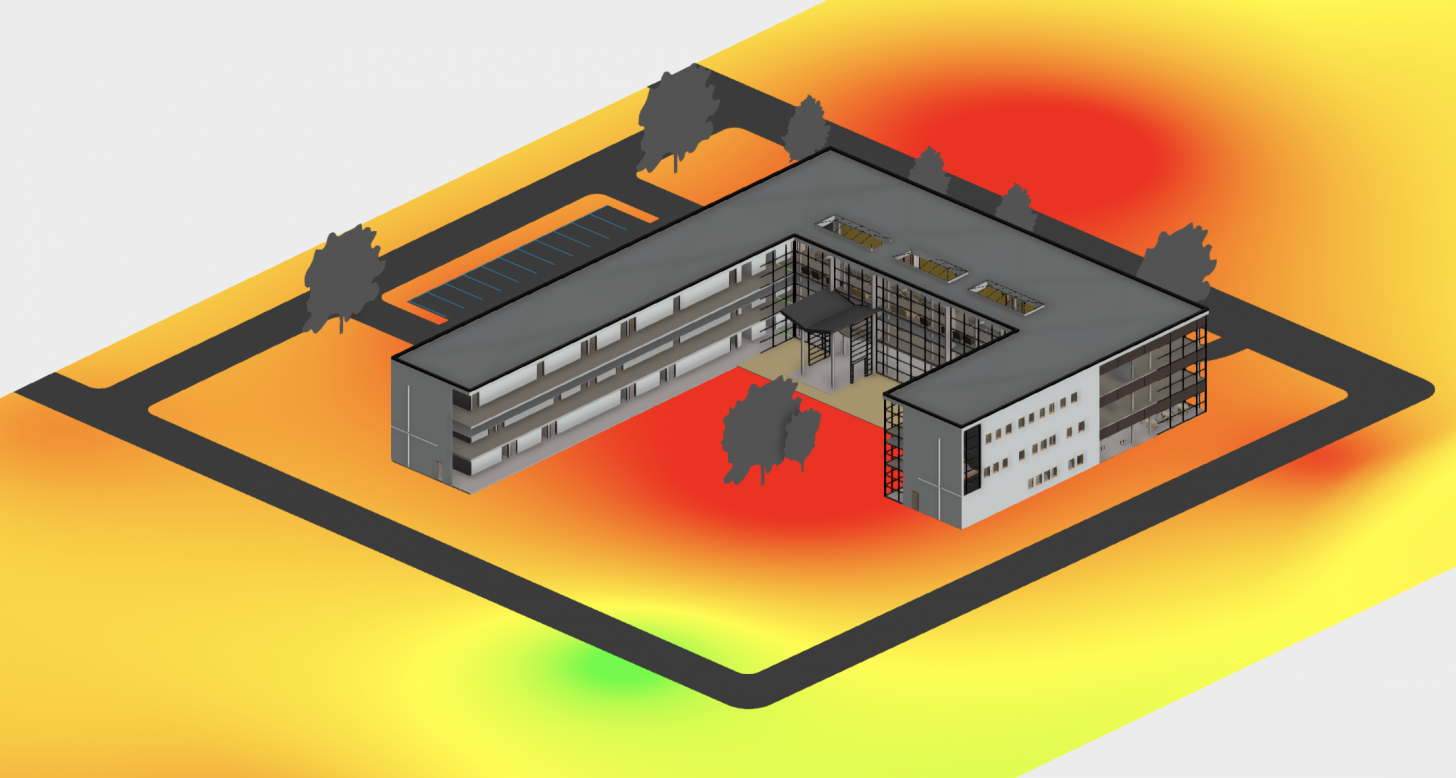
Applying custom shader materials to your model elements in Forge Viewer is not an officially supported feature but - as with many other customizations - there are ways to get this done with a little bit of JavaScript, Three.js, and WebGL magic. Let's take a look at our options in this blog post.
The topic of customizing material shaders had already been covered in several blog posts, for example:
- Forge Viewer Custom Shaders - Part 1
- Using a Dynamic Texture inside Custom Shaders
- Using a Canvas Texture inside Custom Shaders
However, with Forge Viewer recently adopting WebGL 2.0, these techniques may need a bit of an update. A quick and dirty solution would be to disable WebGL 2.0 using the following options passed as the 5th argument to viewer.start:
viewer.start(someUrl, someOptions, someSuccessCallback, someErrorCallback, {
    webglInitParams: {
        useWebGL2: false
    }
});
This may not be the best solution, though, as you would be missing out on many of the benefits of WebGL 2.0, and WebGL 1.0 will not be supported forever, either. Let's take a look at how we can write shaders compatible with Forge Viewer and WebGL 2.0.
Consider the following code snippet that applies a simple yellow color material to selected objects in the viewer:
function applyCustomMaterialToSelection(viewer) {
  const VertexShader = `
    void main() {
      gl_Position = projectionMatrix * modelViewMatrix * vec4(position, 1.0);
    }
  `;
  const FragmentShader = `
    void main() {
      gl_FragColor = vec4(1.0, 1.0, 0.0, 1.0); // simply output a solid yellow color
    }
  `;

  // Create and register a new shader material
  const customMaterial = new THREE.ShaderMaterial({
    vertexShader: VertexShader,
    fragmentShader: FragmentShader
  });
  customMaterial.side = THREE.DoubleSide;
  const materialManager = viewer.impl.matman();
  materialManager.addMaterial('myCustomMaterial', customMaterial, true /* skip material heuristics */);

  // Assign the new material to selected objects
  const model = viewer.model;
  model.unconsolidate(); // If the model is consolidated, material changes won't have any effect
  const tree = model.getInstanceTree();
  const frags = model.getFragmentList();
  const dbids = viewer.getSelection();
  for (const dbid of dbids) {
    tree.enumNodeFragments(dbid, (fragid) => {
      frags.setMaterial(fragid, customMaterial);
    });
  }
}
When running this code in Forge Viewer with WebGL 2.0 enabled, you may start seeing console errors like these:
ERROR :GL_INVALID_OPERATION : glDrawElements: buffer format and fragment output variable type incompatible
This is because WebGL 2.0 is more strict when it comes to shaders writing to multiple render targets (MRT). Forge Viewer leverages MRT for some of its capabilities (e.g., hovering and picking) and effects (e.g., ambient occlusion), and so we need to make sure that our custom shader writes at least some data to all the targets. This can be done by adding the following directives to our fragment shader:
const FragmentShader = `
  #ifdef _LMVWEBGL2_
    #if defined(MRT_NORMALS)
      layout(location = 1) out vec4 outNormal;
      #if defined(MRT_ID_BUFFER)
        layout(location = 2) out vec4 outId;
        #if defined(MODEL_COLOR)
          layout(location = 3) out vec4 outModelId;
        #endif
      #endif
    #elif defined(MRT_ID_BUFFER)
      layout(location = 1) out vec4 outId;
      #if defined(MODEL_COLOR)
        layout(location = 2) out vec4 outModelId;
      #endif
    #endif
  #else
    #define gl_FragColor gl_FragData[0]
    #if defined(MRT_NORMALS)
      #define outNormal gl_FragData[1]
      #if defined(MRT_ID_BUFFER)
        #define outId gl_FragData[2]
        #if defined(MODEL_COLOR)
          #define outModelId gl_FragData[3]
        #endif
      #endif
    #elif defined(MRT_ID_BUFFER)
      #define outId gl_FragData[1]
      #if defined(MODEL_COLOR)
        #define outModelId gl_FragData[2]
      #endif
    #endif
  #endif

  void main() {
    gl_FragColor = vec4(1.0, 1.0, 0.0, 1.0); // simply output a solid yellow color

    #ifdef MRT_ID_BUFFER
      outId = vec4(0.0);
    #endif
    #ifdef MODEL_COLOR
      outModelId = vec4(0.0);
    #endif
    #ifdef MRT_NORMALS
      outNormal = vec4(0.0);
    #endif
  }
`;
All those #defines and #ifdefs might seem a bit intimidating but don't worry. They just specify a couple of additional shader outputs (outId, outModelId, and outNormal) depending on the flags passed to our shader by the viewer (MRT_ID_BUFFER, MODEL_COLOR, and MRT_NORMALS).
The second and final modification is on the THREE.ShaderMaterial object itself - we need to tell the viewer that our material supports MRT by setting the following property on our material object:
material.supportsMrtNormals = true;
And that's it. With these shader modifications you are free to hack on the Forge Viewer visualization once again!
Btw. if you are looking for some inspiration, head over to https://github.com/petrbroz/forge-basic-app/tree/custom-shader-material which is a sample Forge application visualizing a dynamic heatmap on selected objects using a collection of randomly generated "sensor data".
