Last week I presented a very basic custom shader that can be used to change the color of our components in the Viewer. However this shader had no light computation so the result looked pretty bad ...
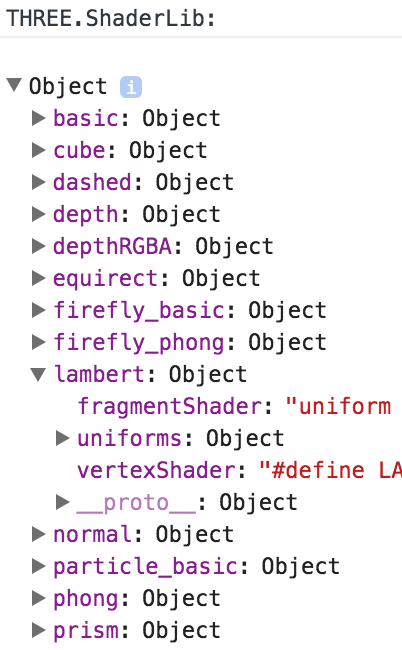
Today rather than implementing from scratch our own shader, which would require a certain degree of expertise in that area, I'm taking a look at Three.js predefined shaders that can be accessed through THREE.ShaderLib. Here is a screenshot of the output in the browser console, we will take a look at the lambert shader in particular:
Each shader is composed by the fragmentShader and vertexShader code which I am not going to modify, and also a collection of uniforms variables: those are all the properties which are being used by the shader code in order to compute how the model gets rendered. For the lambert shader, you can see that this collection is already pretty long:
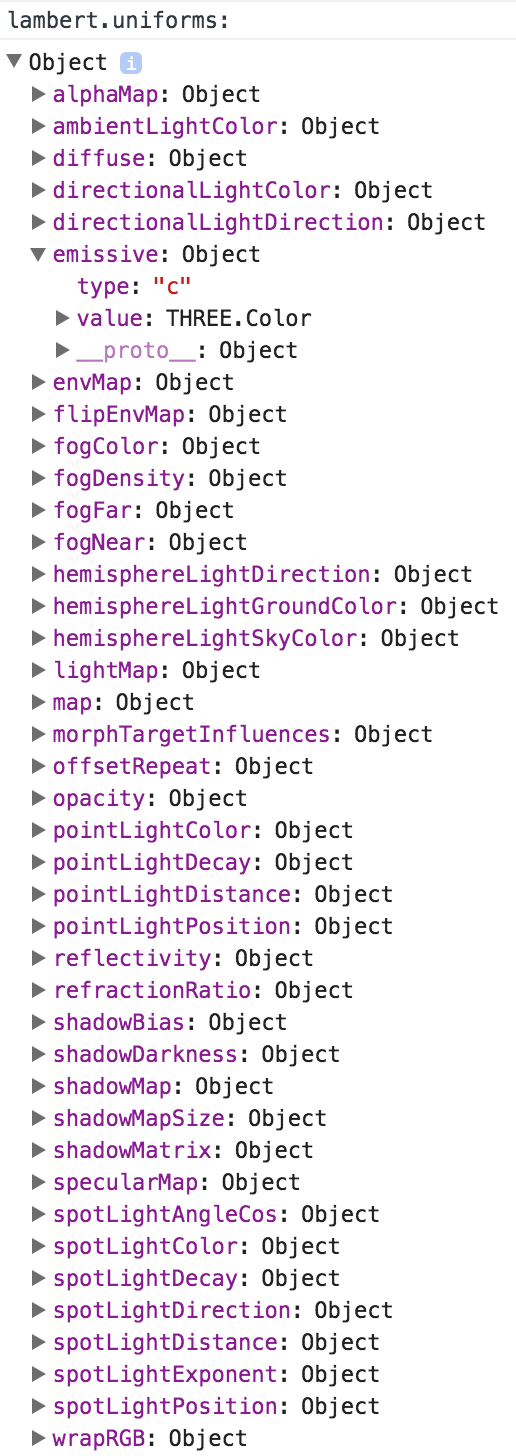
My demo will simply modify the value of the emissive uniform, which will affect the color of the rendered meshes. Out of curiosity you may want to take a look at the complex code from the fragment shader; here are just few lines at the begining:
uniform vec3 diffuse;
uniform vec3 emissive;
uniform float opacity;
varying vec3 vLightFront;
#ifdef DOUBLE_SIDED
varying vec3 vLightBack;
#endif
#define PI 3.14159
#define PI2 6.28318
#define RECIPROCAL_PI2 0.15915494
#define LOG2 1.442695
#define EPSILON 1e-6

float square( in float a ) { return a*a; }
vec2  square( in vec2 a )  { return vec2( a.x*a.x, a.y*a.y ); }
vec3  square( in vec3 a )  { return vec3( a.x*a.x, a.y*a.y, a.z*a.z ); }
vec4  square( in vec4 a )  { return vec4( a.x*a.x, a.y*a.y, a.z*a.z, a.w*a.w ); }
float saturate( in float a ) { return clamp( a, 0.0, 1.0 ); }
vec2  saturate( in vec2 a )  { return clamp( a, 0.0, 1.0 ); }
vec3  saturate( in vec3 a )  { return clamp( a, 0.0, 1.0 ); }
vec4  saturate( in vec4 a )  { return clamp( a, 0.0, 1.0 ); }
float average( in float a ) { return a; }
float average( in vec2 a )  { return ( a.x + a.y) * 0.5; }
float average( in vec3 a )  { return ( a.x + a.y + a.z) / 3.0; }
float average( in vec4 a )  { return ( a.x + a.y + a.z + a.w) * 0.25; }
float whiteCompliment( in float a ) { return saturate( 1.0 - a ); }
vec2  whiteCompliment( in vec2 a )  { return saturate( vec2(1.0) - a ); }
vec3  whiteCompliment( in vec3 a )  { return saturate( vec3(1.0) - a ); }
vec4  whiteCompliment( in vec4 a )  { return saturate( vec4(1.0) - a ); }
vec3 transformDirection( in vec3 normal, in mat4 matrix ) {
return normalize( ( matrix * vec4( normal, 0.0 ) ).xyz );
}
// http://en.wikibooks.org/wiki/GLSL_Programming/Applying_Matrix_Transformations
vec3 inverseTransformDirection( in vec3 normal, in mat4 matrix ) {
return normalize( ( vec4( normal, 0.0 ) * matrix ).xyz );
}
This all get down to the computation of one single value which will determine the mesh color that gets rendered:
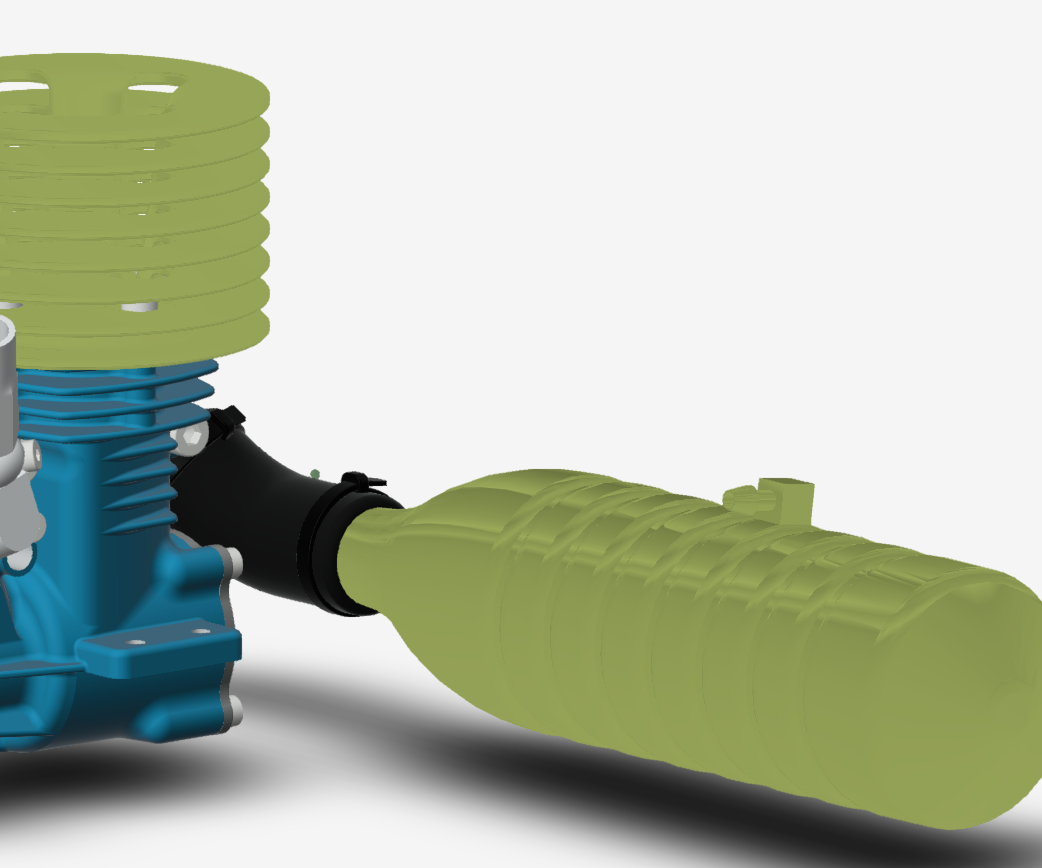
gl_FragColor = vec4( outgoingLight, diffuseColor.a );Similiarly to the code in the previous post, the following viewer extension, once loaded, will let the user select components on the model and by affecting them our shader material, will randomly change the color of those components every 2 seconds: this time we can see light reflection on our colored components!