

We're thrilled to announce that Secure Service Accounts (SSA) has officially graduated from beta to General Availability (GA)! SSA provides a more secure, flexible, and modern way to automate 3LO (server-to-server) integrations with Autodesk Platform Services (APS). You can find the earlier 'beta' announcement here.
Why Secure Service Accounts?
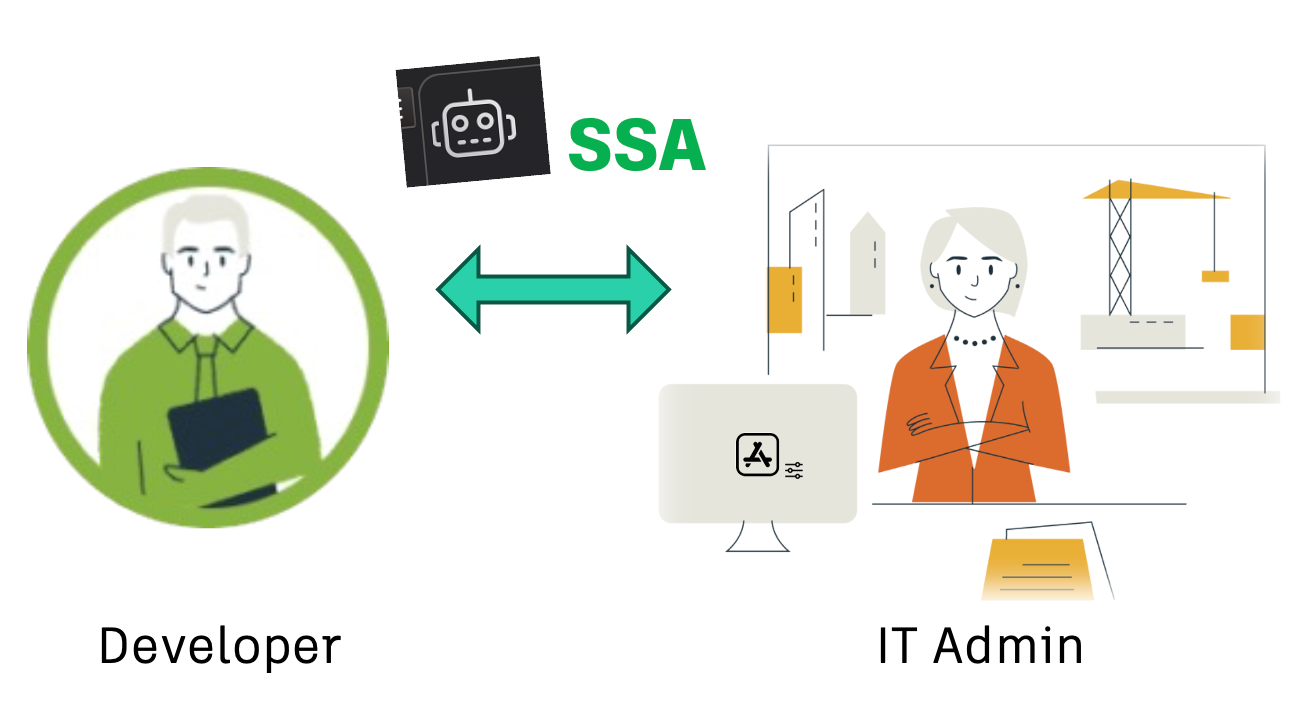
Why This Matters for Developers |
Why This Matters for IT Admins |
|
SSA significantly simplifies automation of tasks needing access to 3LO endpoints, eliminating complex workarounds and authentication challenges. The majority of Forma/BIM360 APIs are '3LO only,' effectively locking out 2LO automation. Using workarounds involving login prompts and refresh tokens, isn't ideal for long-term security, scalability, or governance. It's getting harder and harder to use the login box now that OTP and ReCaptcha have been activated. |
SSA gives IT Admins the familiar controls needed to limit user access to Service Accounts. This provides fine-grained permissions that give confidence that the Apps being installed can only access what you authorize them to access. |
Secure Service Accounts (SSA) solve this by letting you:
- Authenticate using a secure private-key
- Apply precise, user-like permissions to specific projects and hubs
- Eliminate the need to store or share passwords for automation purposes
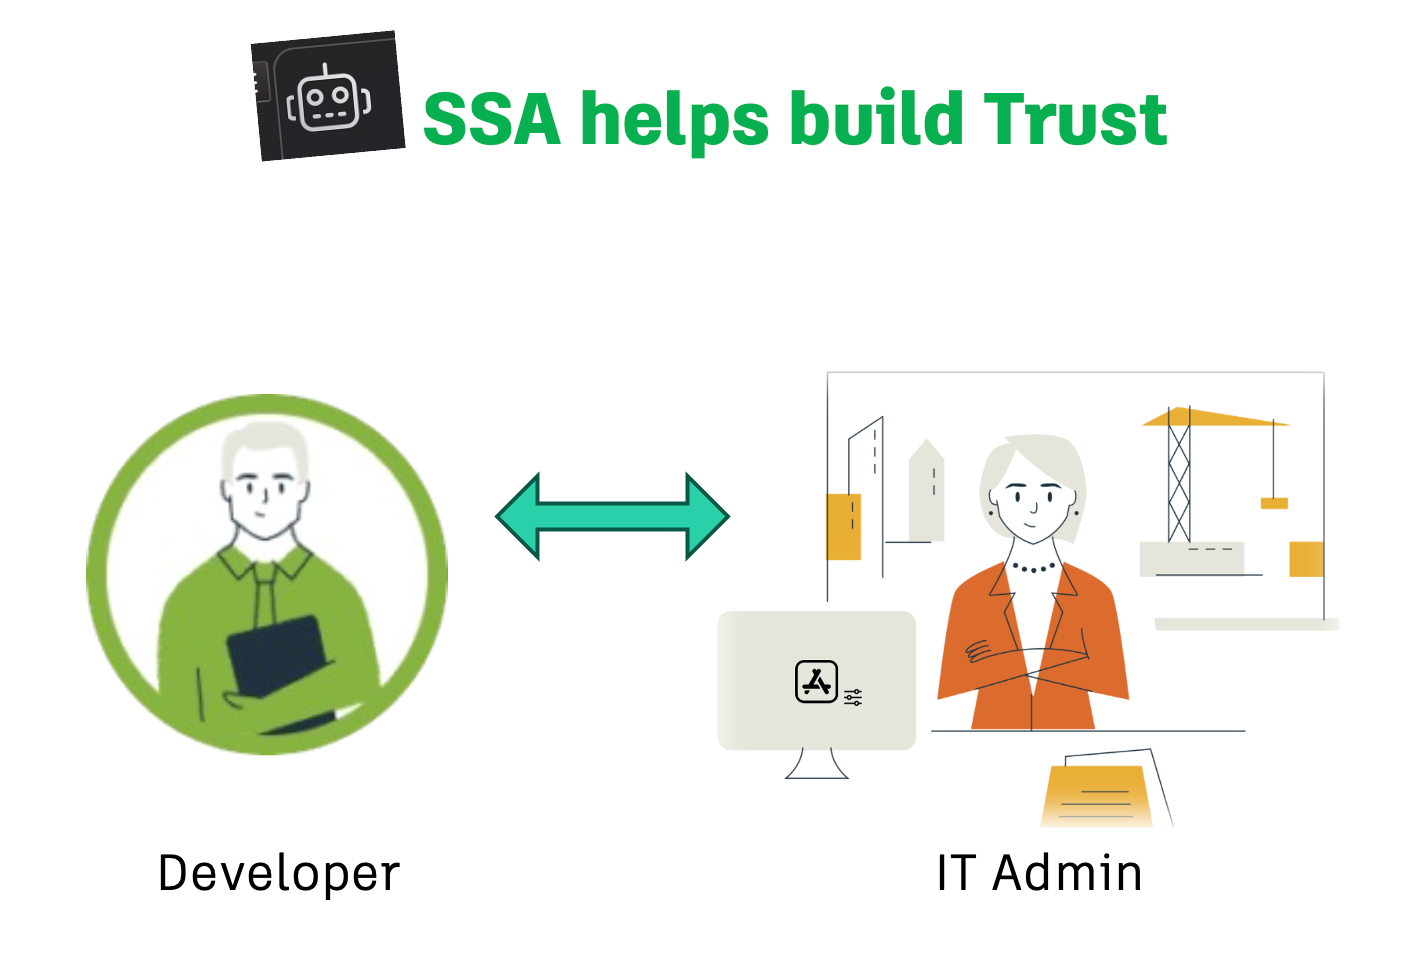
SSAs give your app integrations just enough access, aligning with zero trust principles and modern enterprise security standards.
Key Features
🔐 No More Login Box, ReCaptcha or OTP
Use a private key to authenticate via JSON Web Tokens (JWT), eliminating the need to manage a login box prompt or refresh token.
⚙️ Built for Automation
Perfect for CI/CD pipelines, data integrations, and backend tasks — all without user interaction.
📋 Audit-Ready
SSA token usage is traceable, like a typical user in the Forma activity log system, and fits cleanly into enterprise compliance models.
What's New in GA
Since graduating from beta, we've resolved many of the issues you may have encountered and added significant new capabilities:
- 🔒 ClientID Access Controls: Protect sensitive Forma Projects from access by Developer Apps with enhanced security controls
- 📋 Complete Forma Build Module Support: Use SSA with all Forma Build modules including Sheets, Costs, and Forms APIs
- ⚙️ Admin APIs Integration: Drastically simplifies API calls to Admin APIs (not just 2LO access, but also 3LO, so you can use a single Robot (SA) account to automate administration tasks). (Note: This 3LO feature has been delayed.)
- 🔄 Revit Cloud Worksharing (RCW): Full compatibility with Revit Cloud Worksharing (this was fixed during the beta period), see *note below.
- Detailed SSA API documentation
- Comprehensive support for 3LO Forma APIs (Admin, Docs, Cost, Build, Issues, Forms, and more)
- Enhanced SSA management tool for developers getting started
-
SSA also works with apps on the "App Store". During the "publish your app" procedure, you’ll provide the same Client ID associated with your SA/Robot account.
When an IT Hub Admin installs the app, you (the app owner) will need to provide them a new robot email address (via an email or via your own custom web interface). They will add this Robot email address, as a member, to their Forma/BIM360/Fusion project(s).
Note: The robot’s email address includes the Client ID as part of the address.
Check the 'about' section in our documentation for complete details on all improvements and new features.
* NOTE: regarding RCW with SSA:
A license of either BIM Collaborate (READ) or BIM Collaborate Pro (READ/WRITE) is needed to access Revit Cloud Worksharing Models when using the RCM API with an SA user. Also, remember to assign the SSA user with "view+download" permissions to the folder where the model is located.
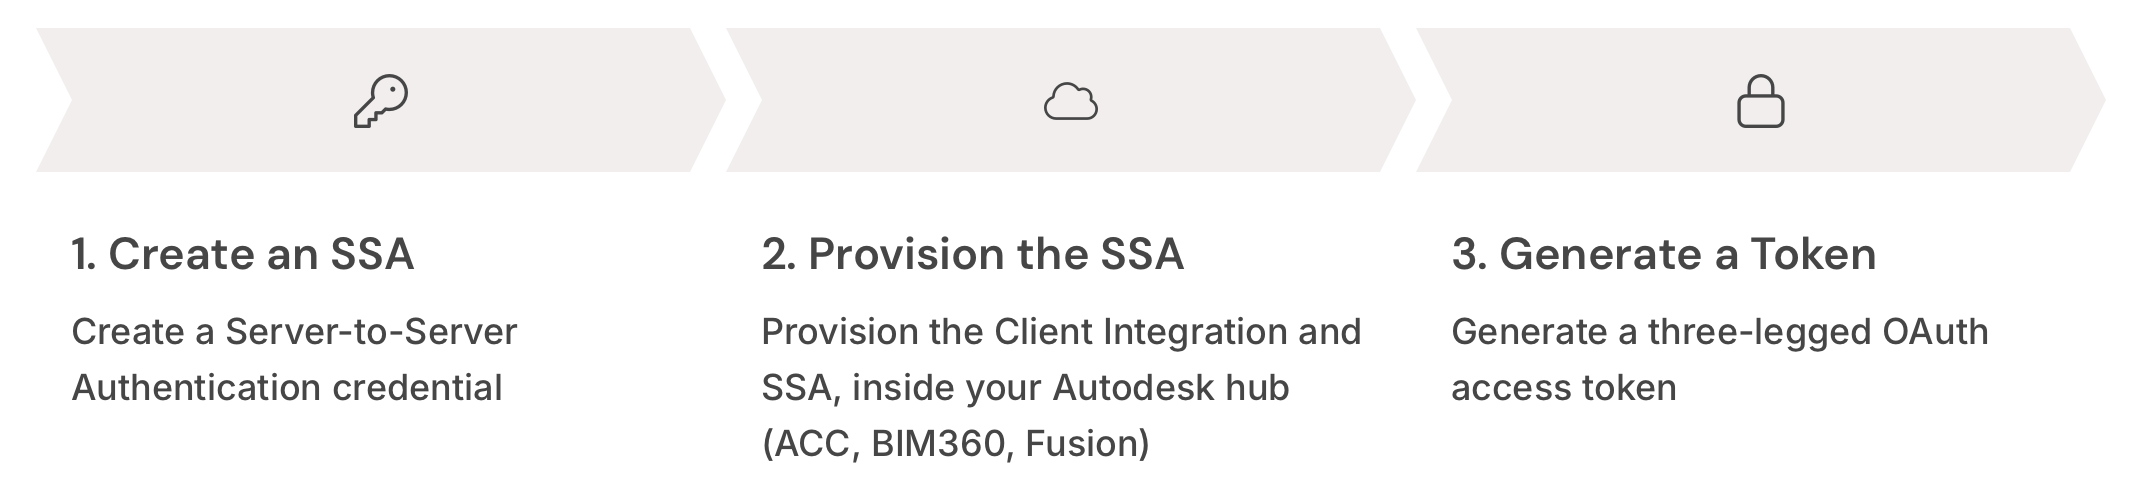
How to "Get Started":
All steps above are covered in the Three Part: "SSA - How to Guide" within the official SSA API documentation.
...
Developer Setup: Creating Your First Robot Account
1. Watch the Video
Start by watching the YouTube video (click the image above) - this walks you through the following developer setup:
2. Create a Server-to-Server App
- Go to "My Apps" - https://aps.autodesk.com/myapps
- Create a new application with the type Server-to-Server
- Copy the Client ID and Client Secret to a scratchpad
3. Create Your Robot
- Navigate to https://ssa-manager.autodesk.io
- Log in using your Client ID and Client Secret
- Provide a First Name and Last Name for your robot
- Click Create Robot with Name
- Click Create Key and copy the following to your scratchpad:
- Key ID
- Service ID
- Private Key
Testing the Setup
4. Generate a 3LO Access Token
- Click the Create Token with Scope button
- Open the resulting JWT token on https://jwt.io to verify the scope
You’re now ready to add the robot inside any Autodesk Forma hub:
IT Hub Administrator Setup: Adding the Robot to Your Forma Hub
To add the robot to your Autodesk Forma hub, you'll need:
- - The Developer's App (Client ID)
- - The Robot's email address
Refer to the 'developer setup' video mentioned earlier, for guidance.
---
1. Add the App to Custom Integrations
- Go to Forma > Account Admin > Custom Integrations
- Add the Client ID
- This grants the application access to the hub
2. Add the Robot as a Project Member
- Invite the robot's email to any project of your choice
- This can be automated using Project Template Creation or Roles
3. Set Robot Permissions
-
For Folder Access: Grant folder-level permissions just like a regular user
-
For Issues API: Configure access in Issues Permission Settings, similar to a regular user
- "Build" Module Access:
- On the Project Members page, ensure the robot is subscribed to all relevant Build Modules (e.g., RFIs, Forms)
-
Optional: Disable 2LO Access
- You may request that 2LO access to the Data Management API be disabled for added security
- Use the designated support process to submit this request
Note: the restriction is on the client ID, not the hub.If a client ID is marked as 2LO-restricted, then any use of that client ID and secret is restricted. You cannot use 2LO for Data Management or the Admin API on any hub with that client ID.Wherever you add that client ID, it remains restricted. You can’t have “Hub 1 allowed, Hub 2 restricted.” The limitation applies to the client ID itself, not to individual hubs.The client ID is what’s constrained — not the hub.
---
Going to AU?
Join us for these two SSA sessions:
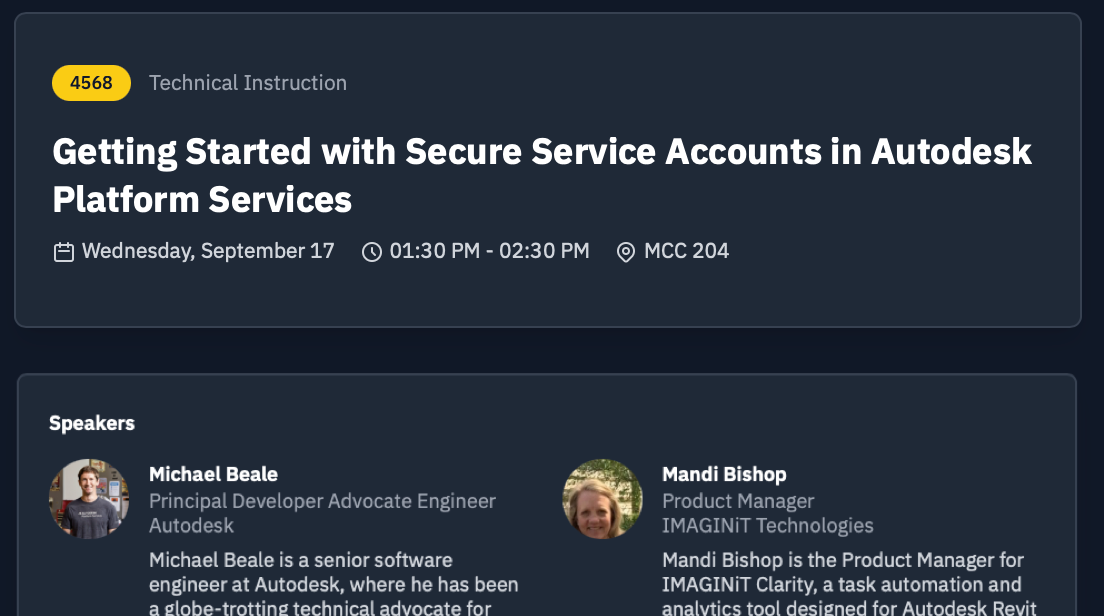
SSA ClassGuest speaker from IMAGINiT Wednesday 1:30pm |
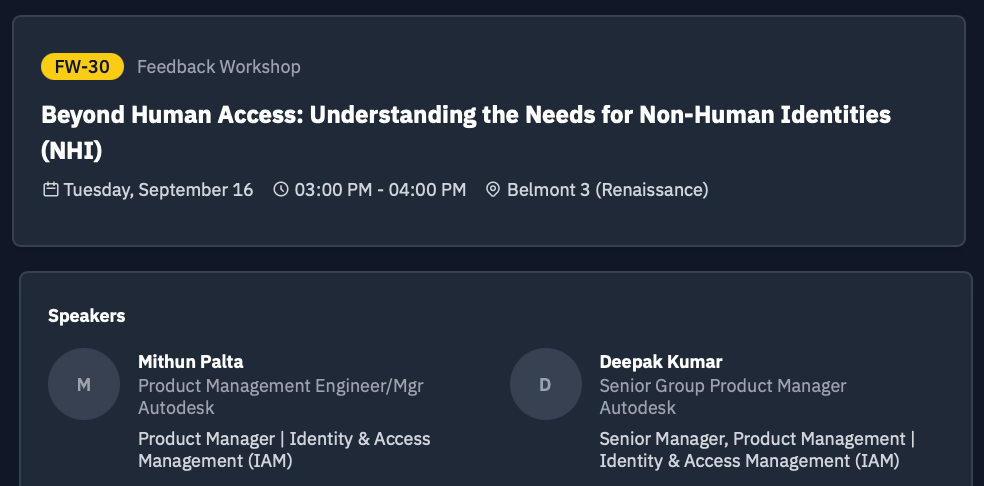
SSA WorkshopTuesday 3pm |
 |
 |
What's Next
With GA now available, we continue to expand SSA capabilities. We're working on additional 3LO API support, enhanced restriction features for Admin API via 2LO, and future UI updates specifically designed to manage SA accounts within the Forma Portal.
- We welcome your feedback and suggestions as you implement SSA in your production environments.
- For support, contact us through the regular 'Support - > Get Help" mechanism
- To request the 'Disable 2LO' feature for your clientID, see the docs pages for the process.