Search in Default UI
This tutorial describes how to locate parts of a model using the Search extension with the default Viewer UI.
For details about using the Search extension with a custom-built UI, see the Search in Custom UI tutorial.
Before You Begin
Instantiate a Basic Viewer by following the Basic Viewer tutorial.
Step 1: Load the Search Extension
Use the ViewingApplication class to load the Search extension (InViewerSearch). See the ViewingApplication tutorial for more details on how to load an extension.
var config = {
  extensions: ["Autodesk.InViewerSearch"],
  inViewerSearchConfig = {
      uiEnabled: true,
      clientId: "adsk.forge.default",
      sessionId: "F969EB70-242F-11E6-BDF4-0800200C9A66",
      loadedModelTab: {
          enabled: true,  // If false, the tab is hidden.
          displayName: 'This View',
          pageSize: 50
      },
      relatedItemsTab:{
          enabled: true,  // If false, the tab is hidden.
          displayName: 'This Item',
          pageSize: 20
      }
  }
};
viewerApp.registerViewer(viewerApp.k3D, Autodesk.Viewing.Private.GuiViewer3D, config);
The following table describes the cutomizable parameters:
| uiEnabled boolean | Enable or disable the default UI. Default is true. |
| clientId* string | Client ID of the application. |
| sessionId* string | The unique identifier of a session (generated by the developer). A new ID should be generated each time the application is initialized. |
| loadedModelTab object | Contains information about the Current Model tab. The tabs appear in the UI in the order in which they are coded. |
| relatedItemsTab object | Contains information about the Document tab. |
| enabled boolean | Enable or disable the tab. Default is true. |
| displayName string | Customize the display name of the tab. Default is This View for loadedModelTab and This Item for relatedItemsTab. |
| pageSize int | Number of results to include per page. Default is 50 for loadedModelTab and 20 for relatedItemsTab. |
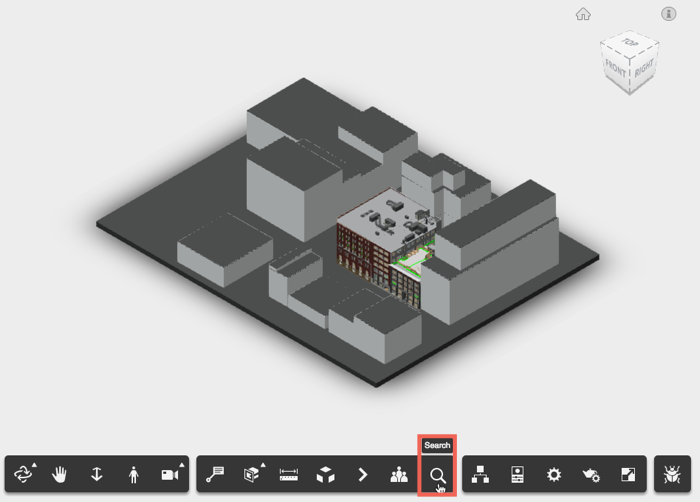
Once the extension is loaded, refresh the HTML page and verify that the Search icon has been added to the toolbar.
Step 2: Perform a Search
Click the Search icon to open the Search panel.
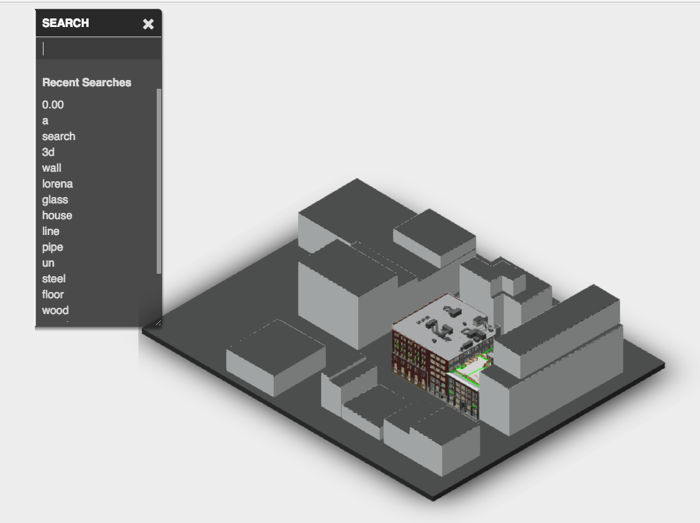
Select a recent search or enter a new search in the search box. A new search is generated automatically after entering three characters or by pressing Enter. Note that the search is case-insensitive.
Step 3: Understand the Results
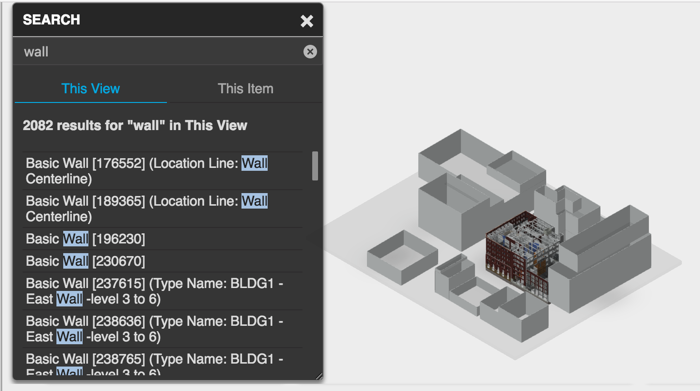
The search results appear in the Results panel which displays two tabs: the Current Model tab (in this example, This View), which shows the search results for the model that is currently loaded in the viewer, and the Document tab (in this example, This Item) which shows the results for all geometries in the document object. By default, the Resutls panel displays the Current Model tab. You can enable and disable tabs and configure their names using the config object.
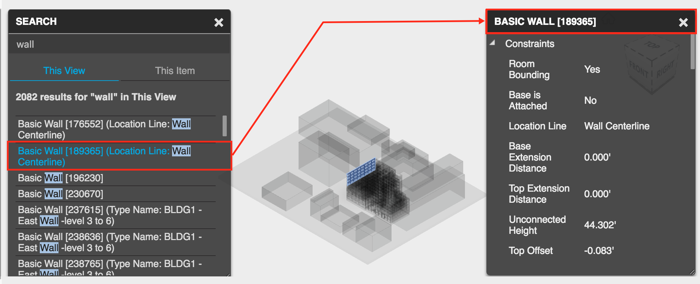
Selecting a result highlights the corresponding node in the Viewer and displays the Property panel for that node.
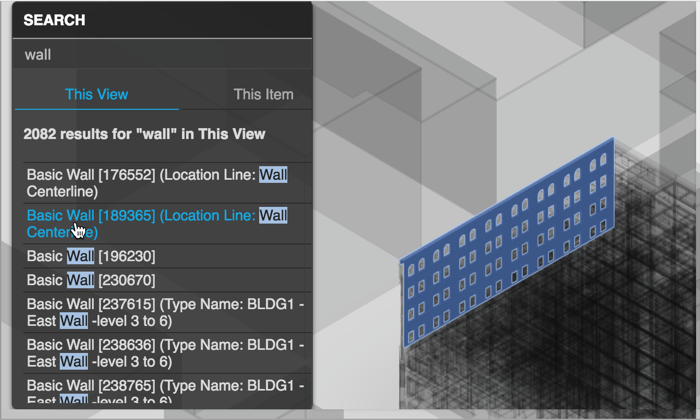
Double-clicking a result zooms in on the node.
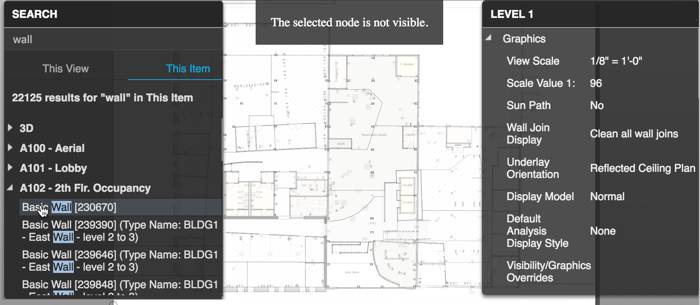
Select the This Item tab to display a list of all geometries in the document where search results were found.
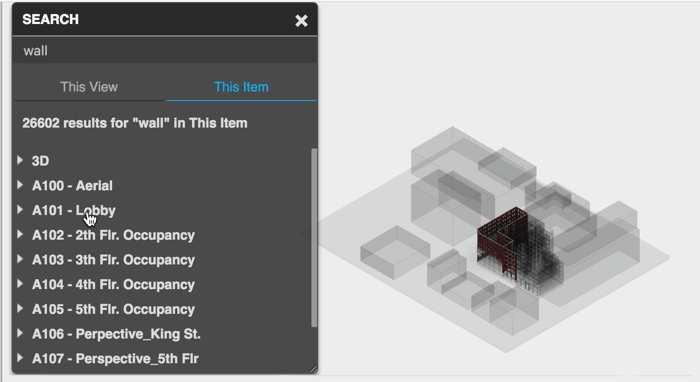
Select a model to expand the search results for that model. Selecting a search result for a model that is not currently loaded in the Viewer will load that model in the Viewer. The corresponding node will be highlighted in the Viewer, and the Property panel will be displayed for the node.
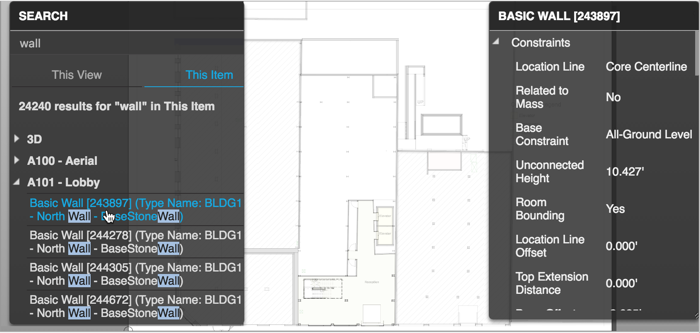
If the selected node is not graphically visible, the Property panel still displays information about the node.